|
Coming into this class I did not have that much knowledge of digital photography. I only knew about the different composition techniques and how to correct the exposure setting on the camera. In this class I learned how the camera works, and how to take better photos. We also practiced with our new knowledge of shutter speed etc. To be honest this class was not a very big challenge for me but I still very much enjoyed it. I really liked the Photoshop projects we had to do. I have worked with Photoshop before because of my YouTube channel. Even though I knew everything that we practiced in the class, I still found it fun to do the assignments. My favorite was the Open assignment where we could do anything we wanted. I am very proud of the pieces I created. I can't wait to look back at what I did in this class from some time now to see how I improved (or not). Im not sure I am going to proceed into photography as a profession but I know it will be a continuous hobby of mine. Over all, I am very happy I took this class, and I will miss it.
0 Comments
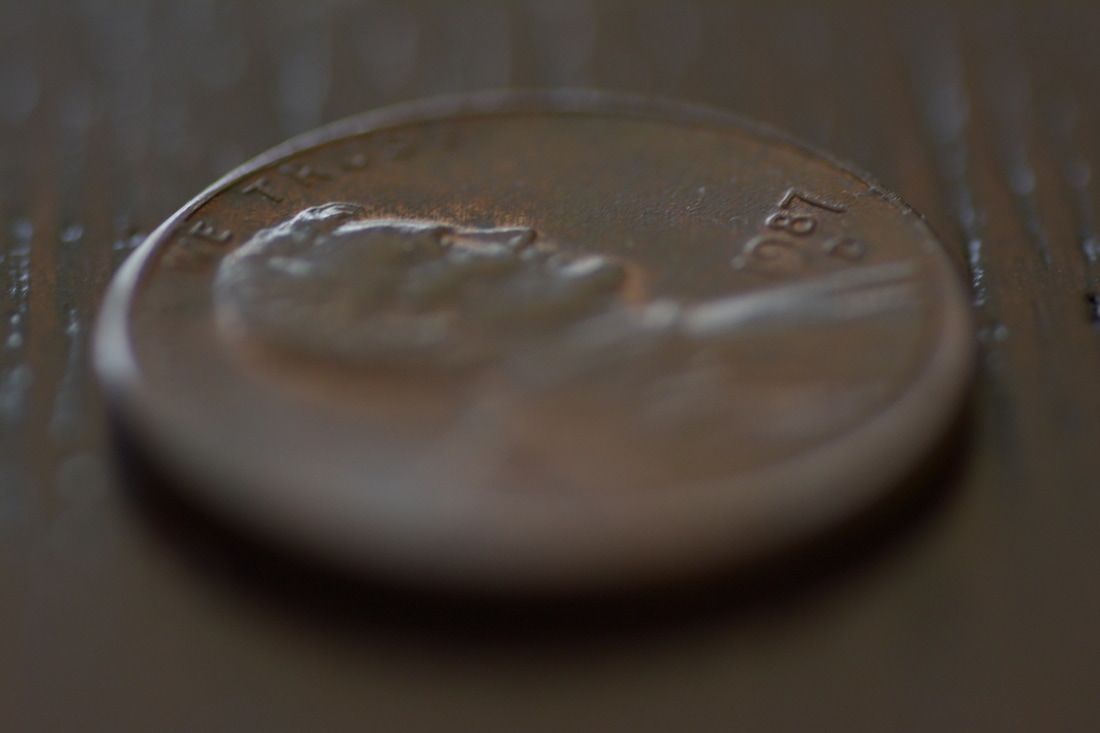
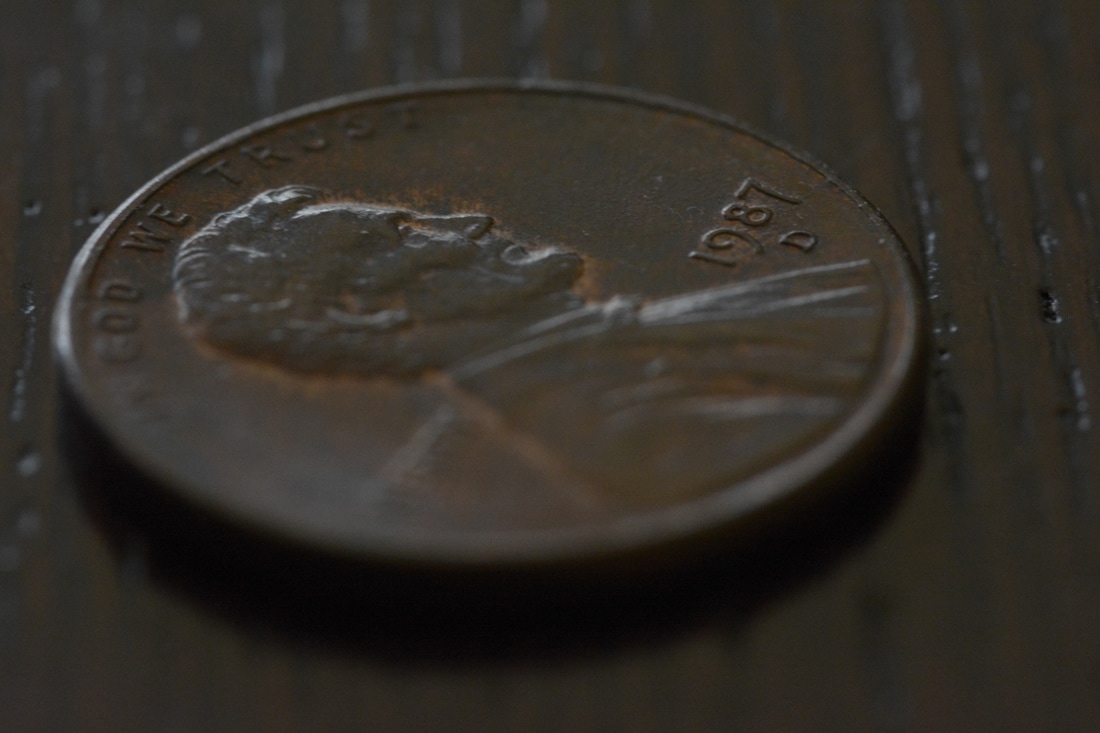
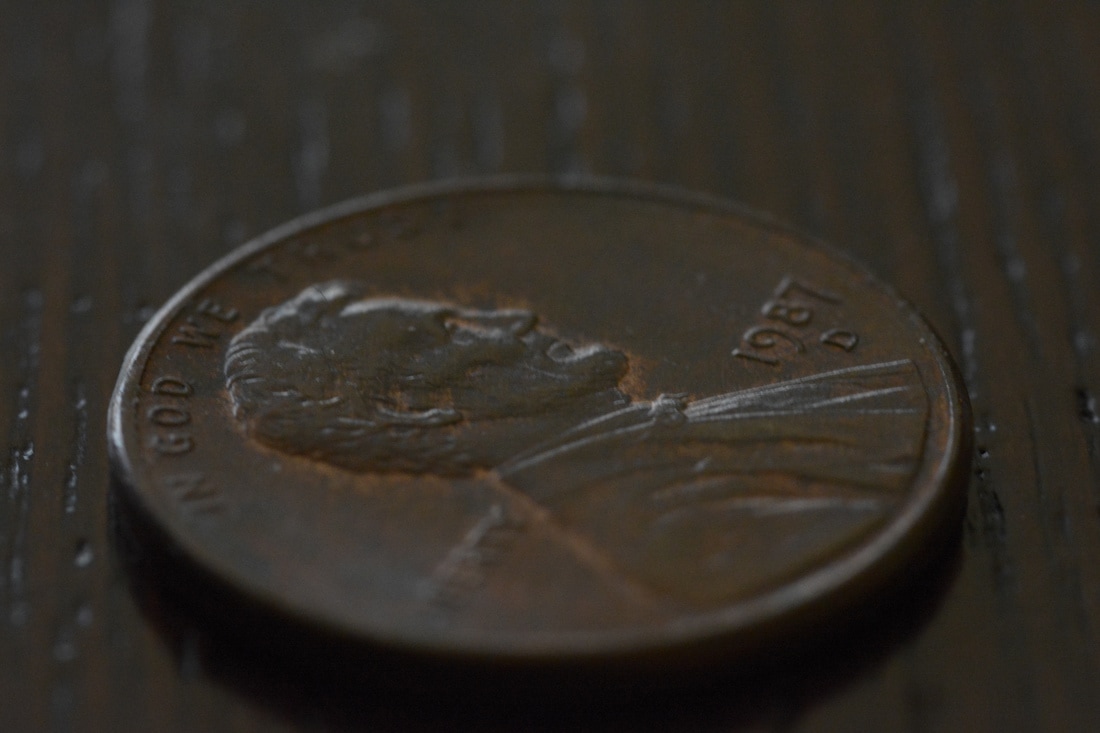
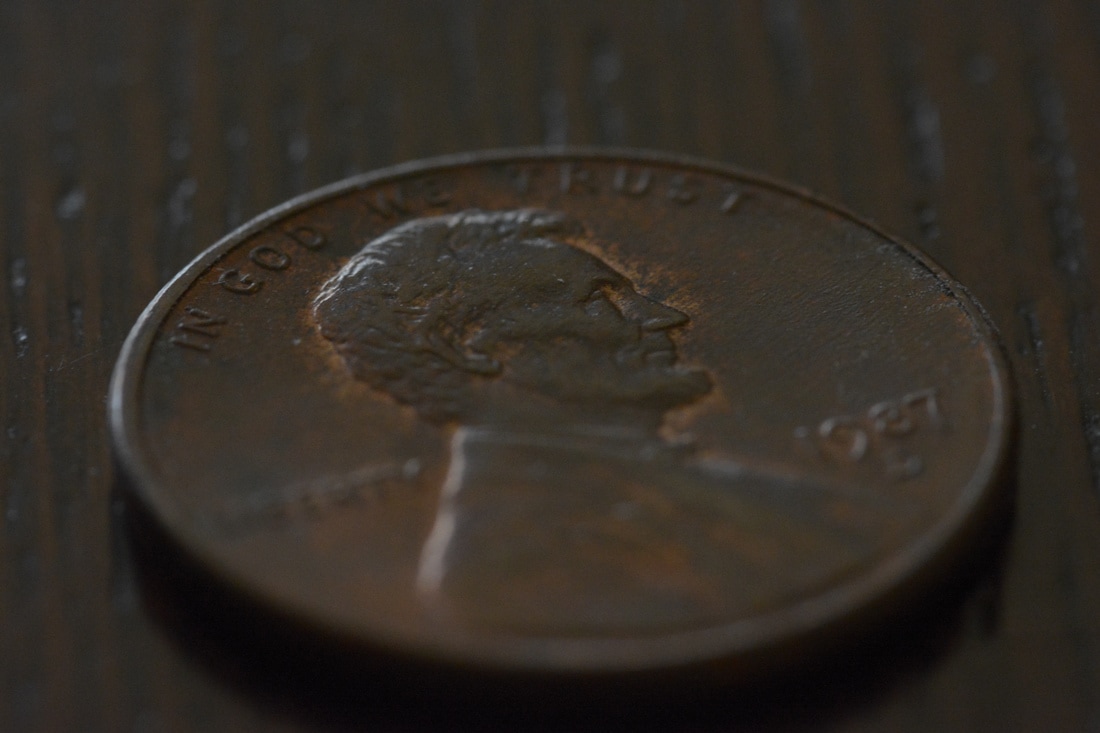
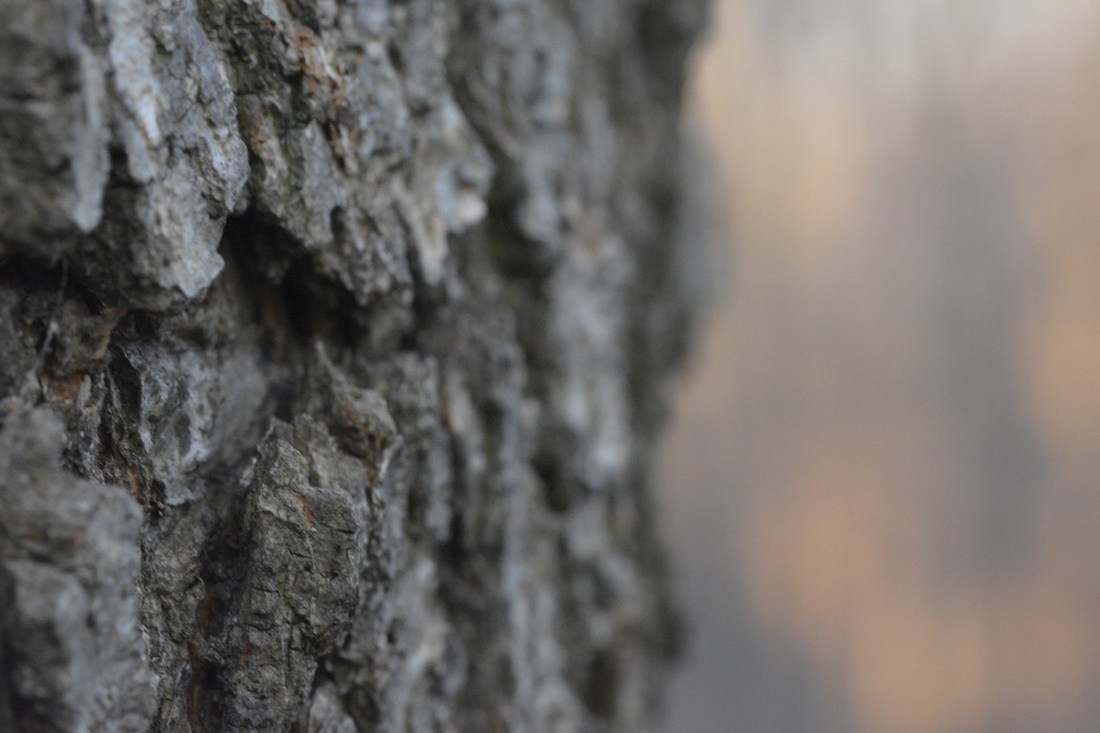
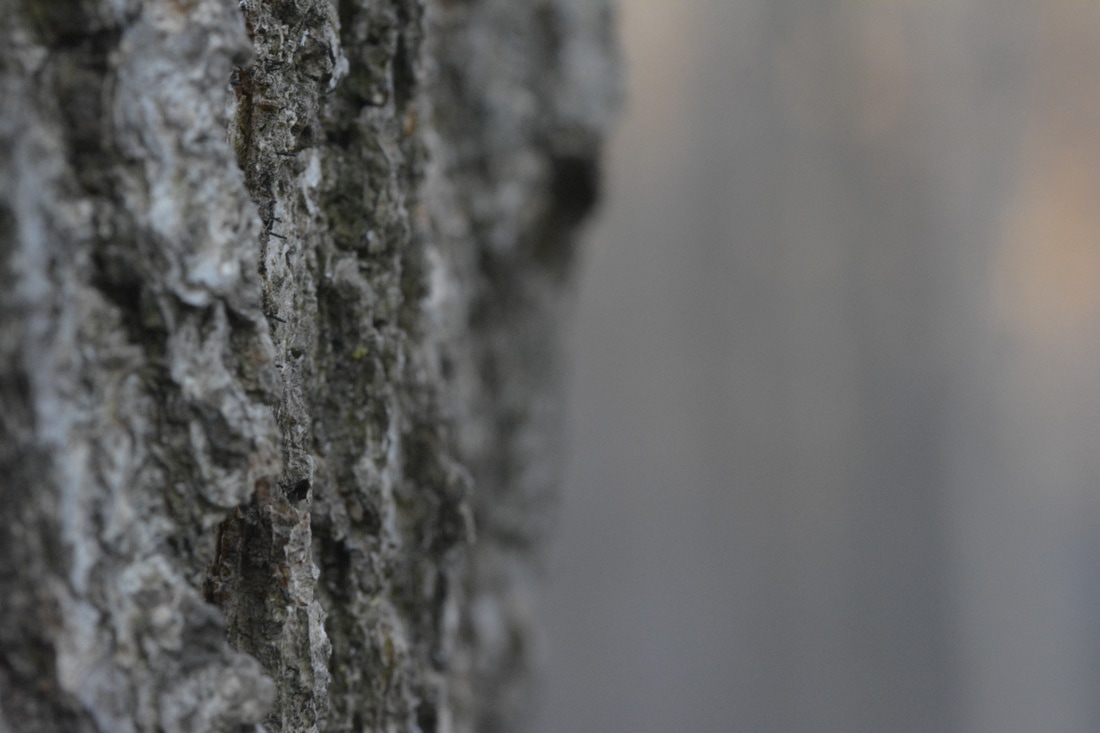
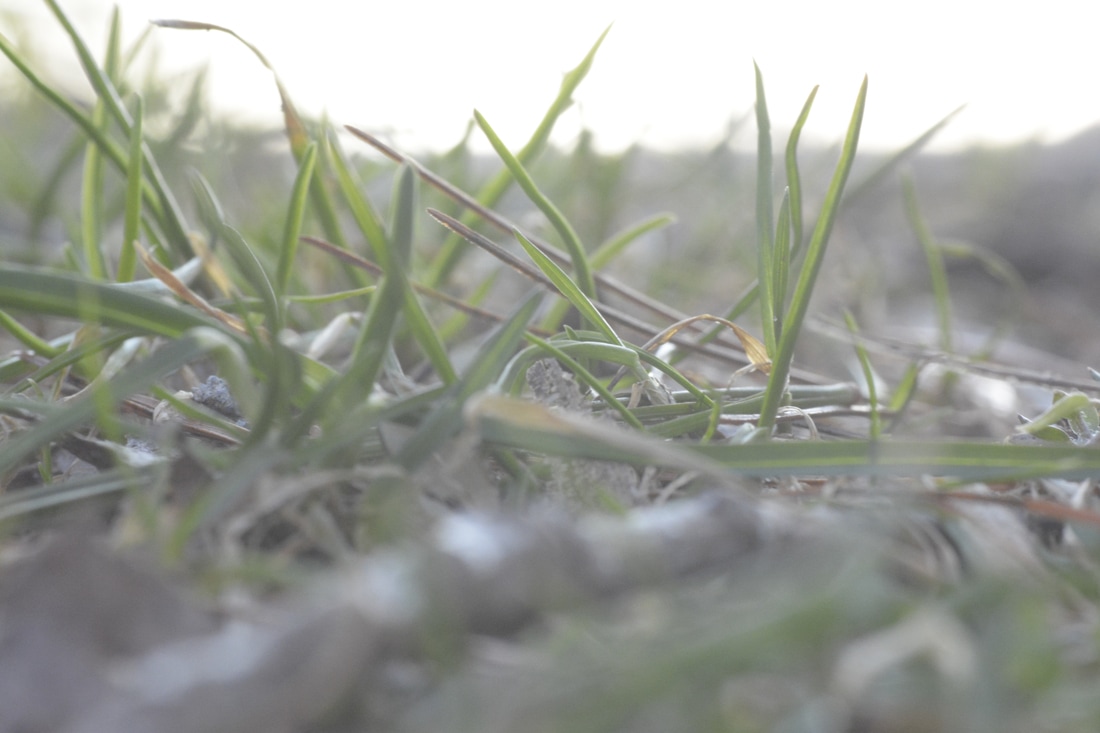
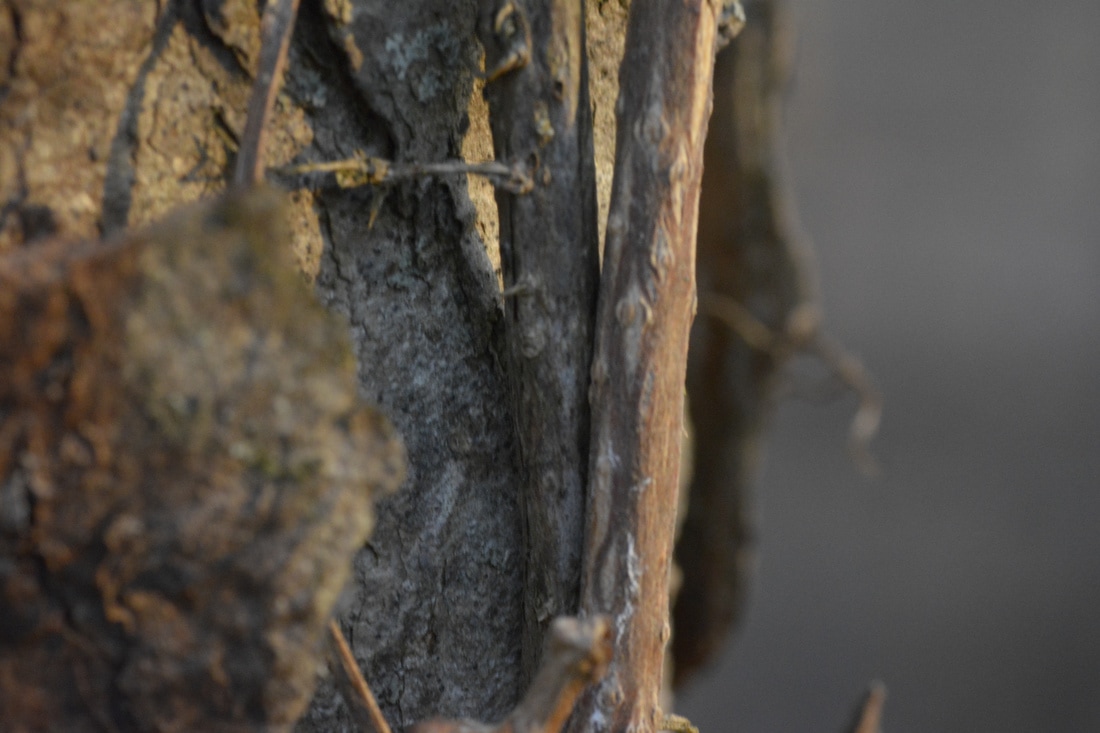
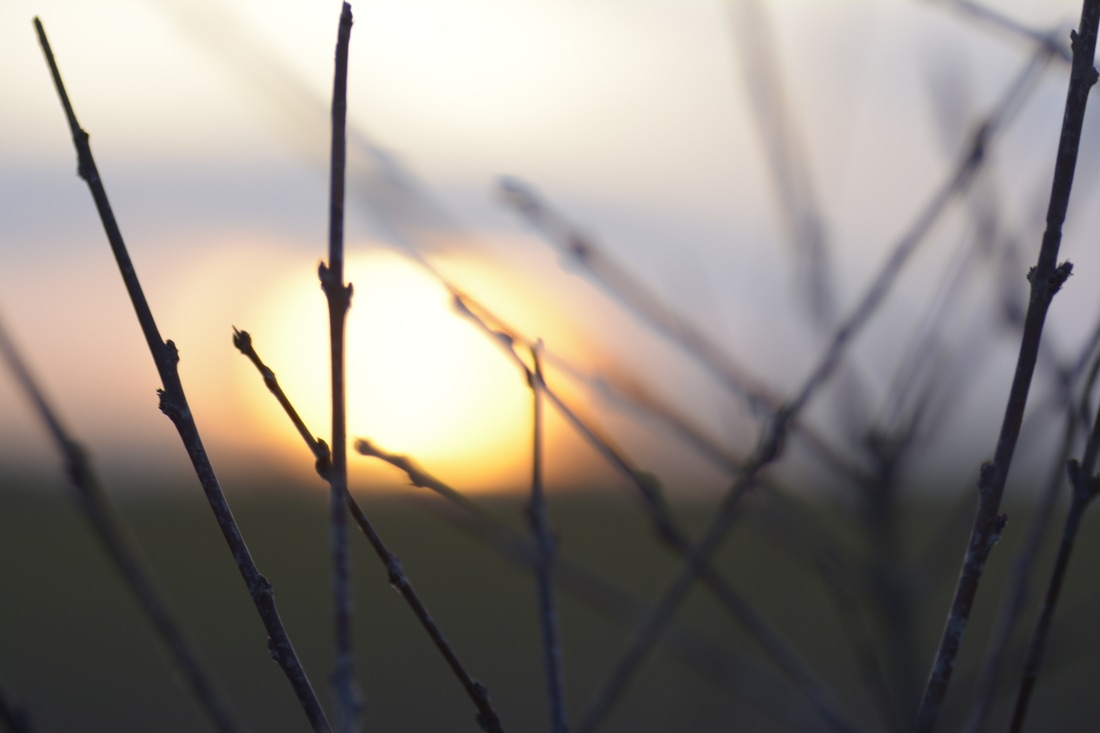
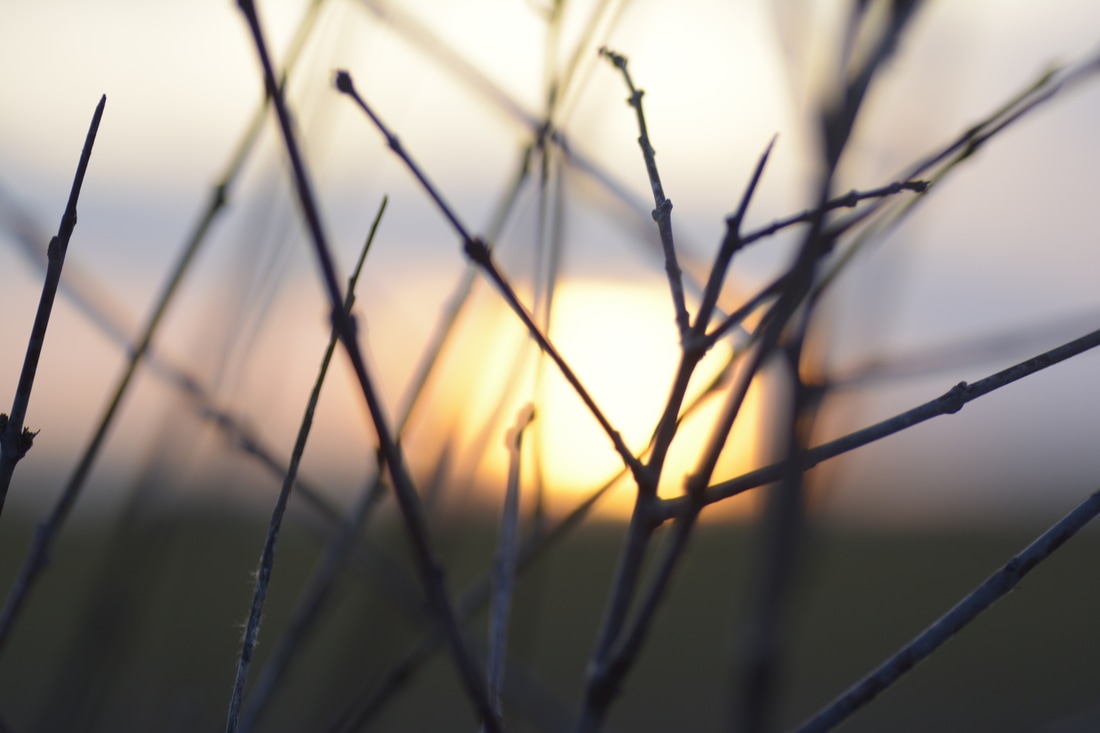
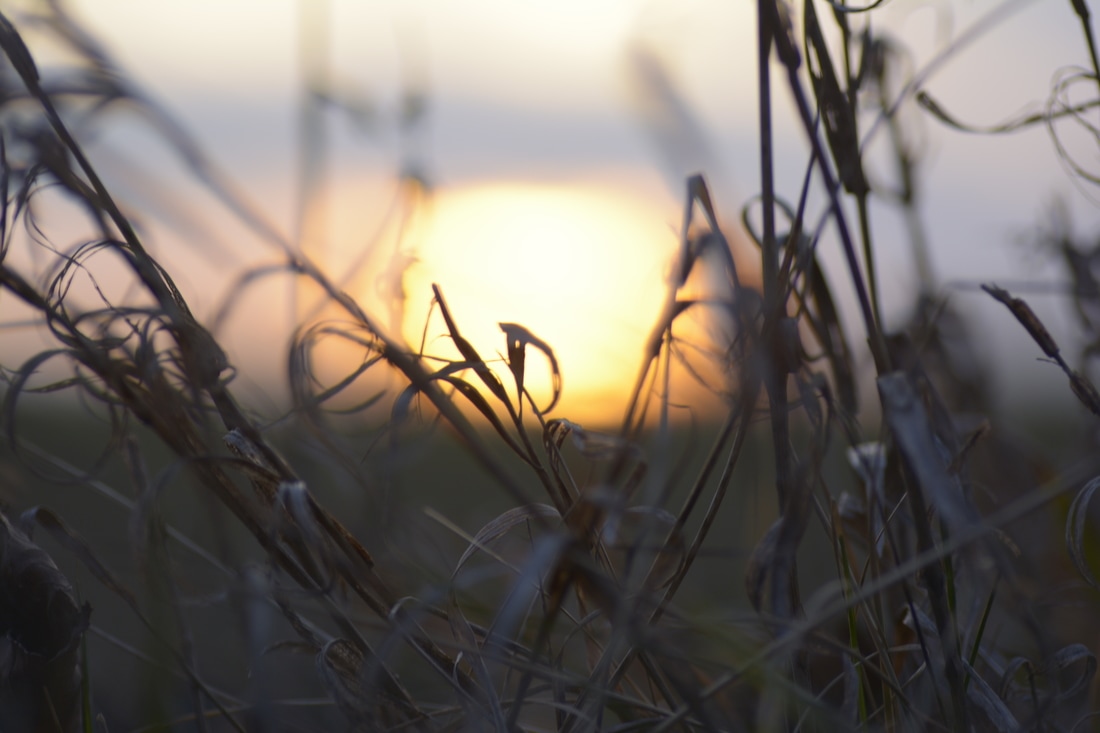
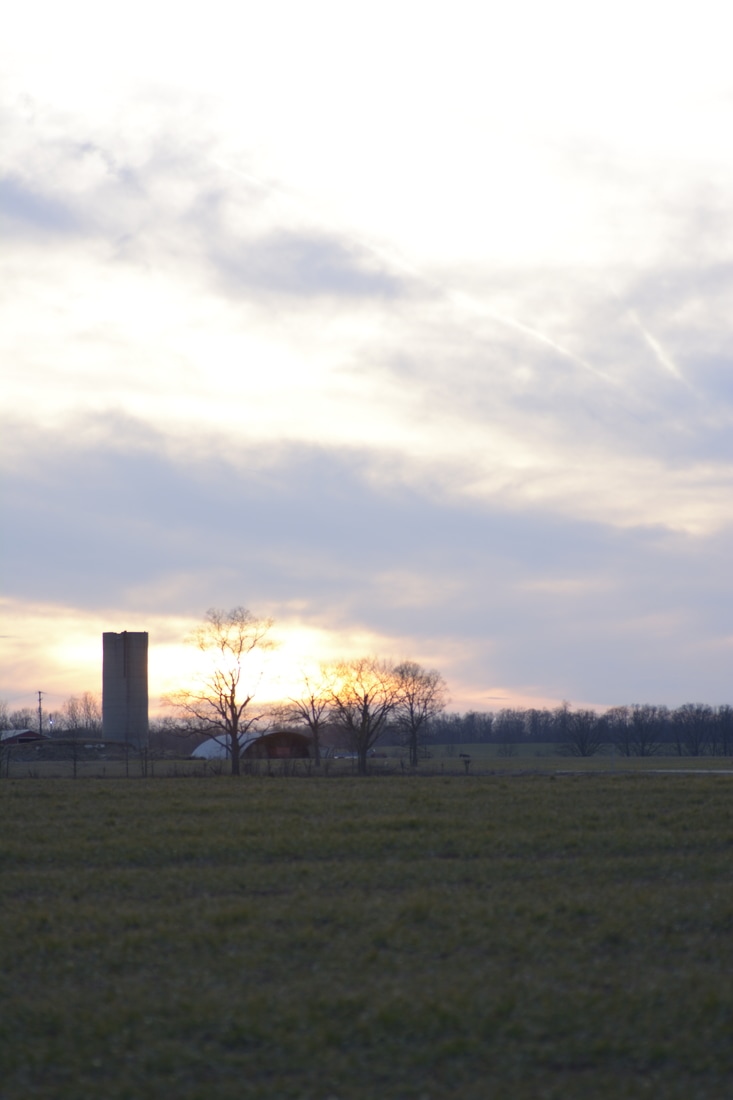
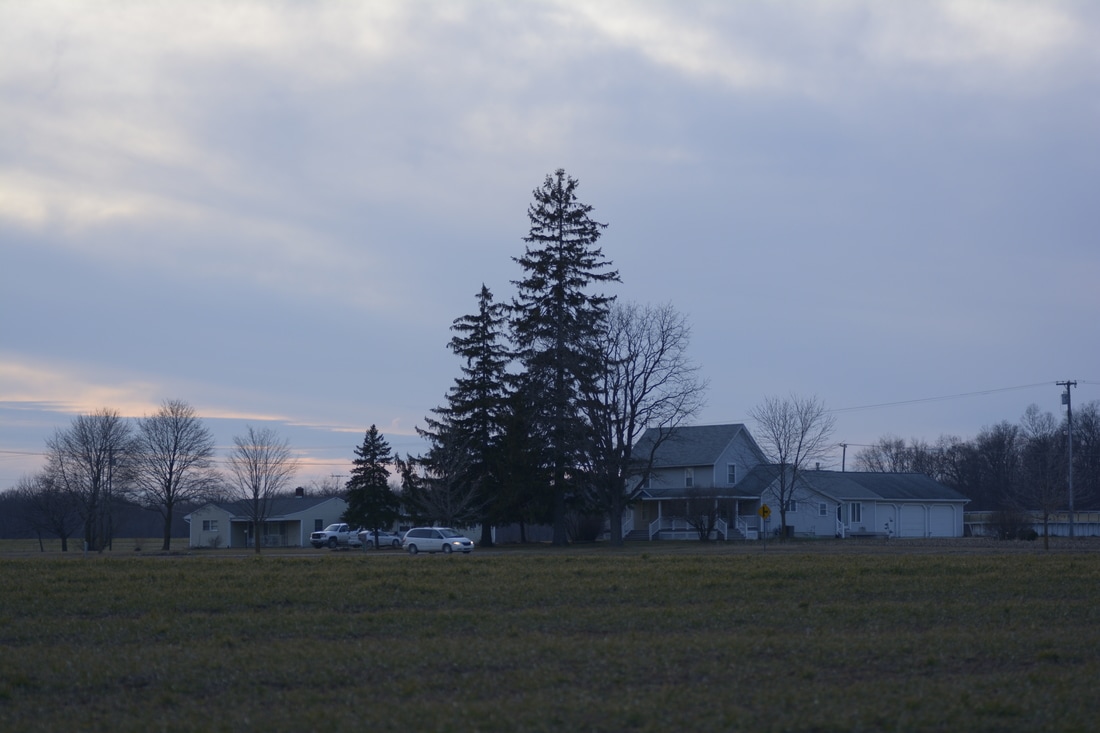
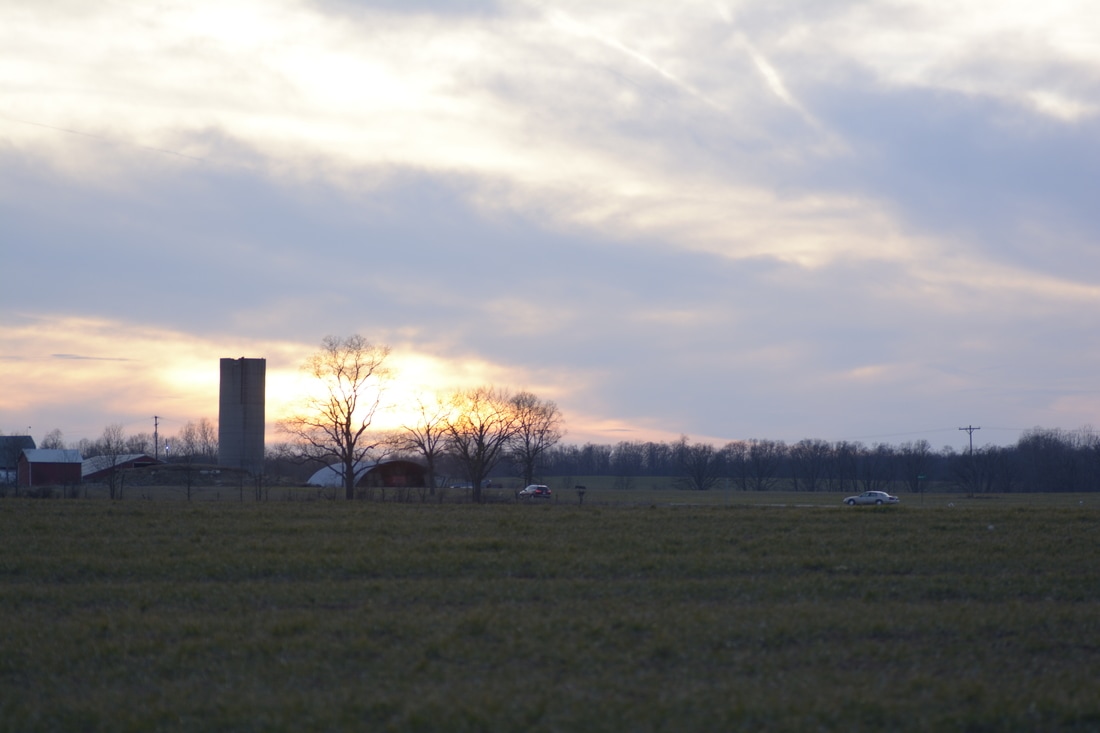
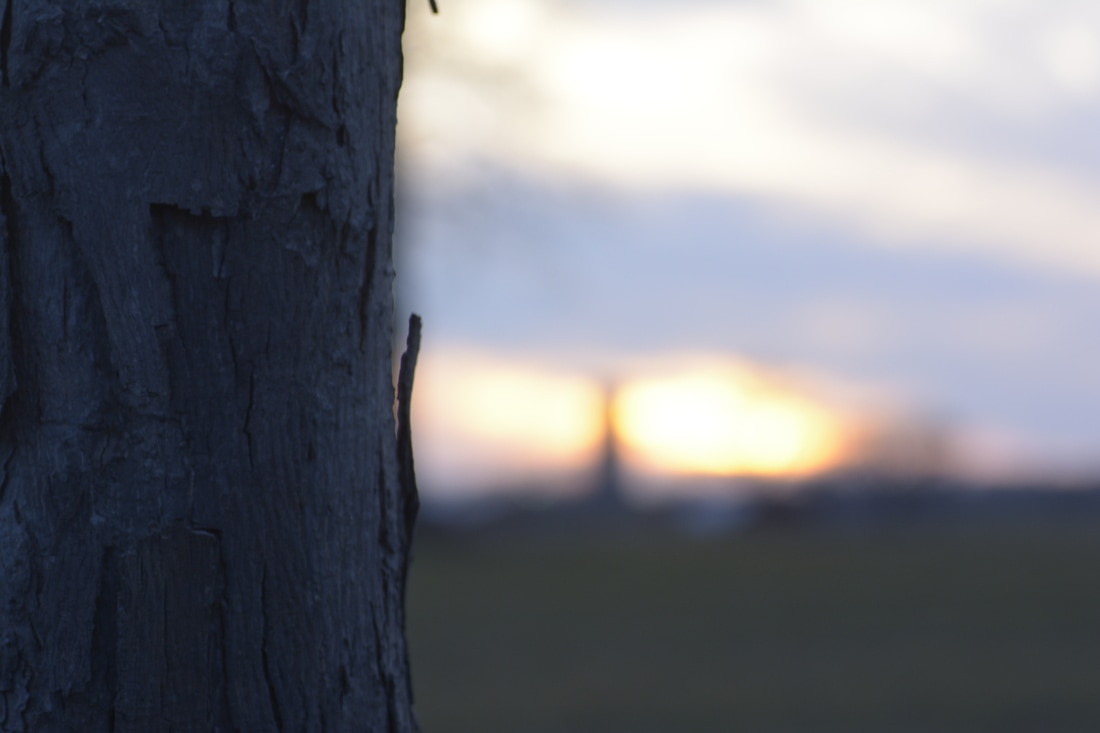
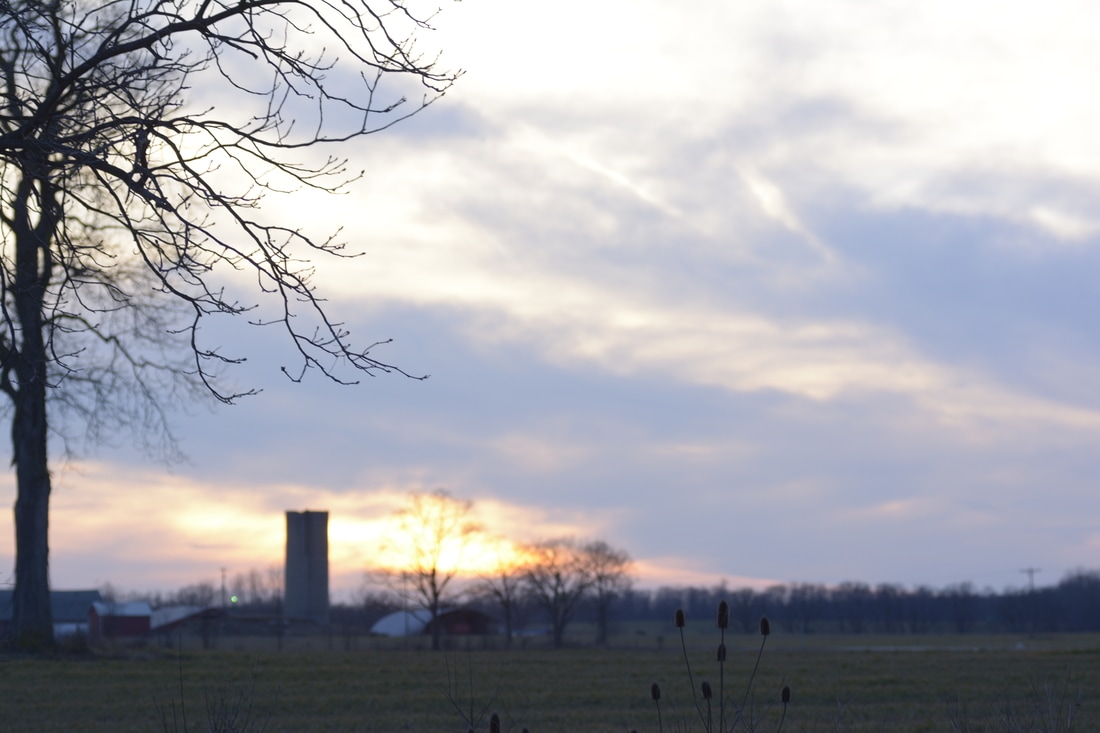
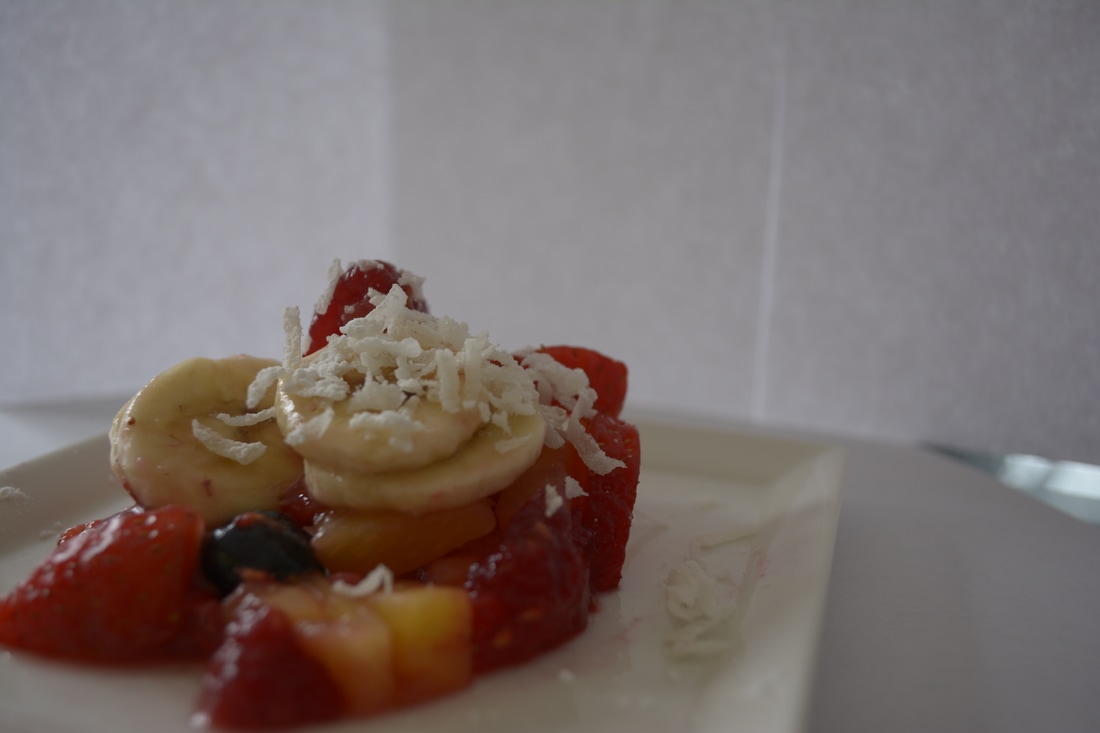
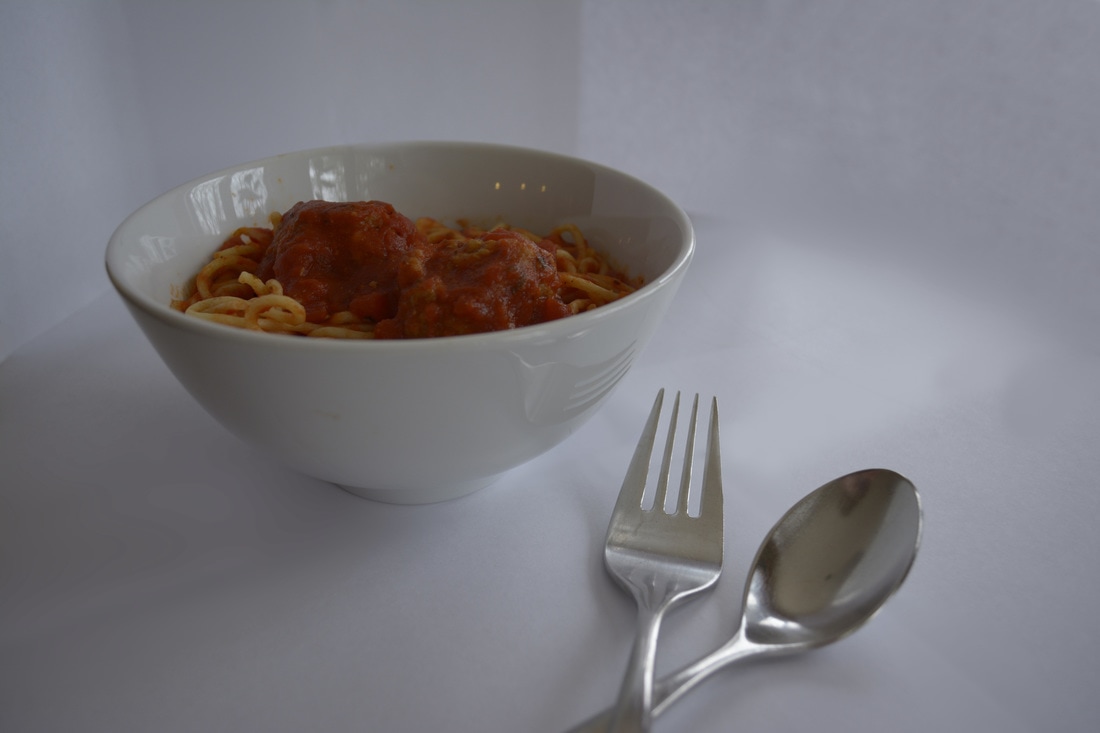
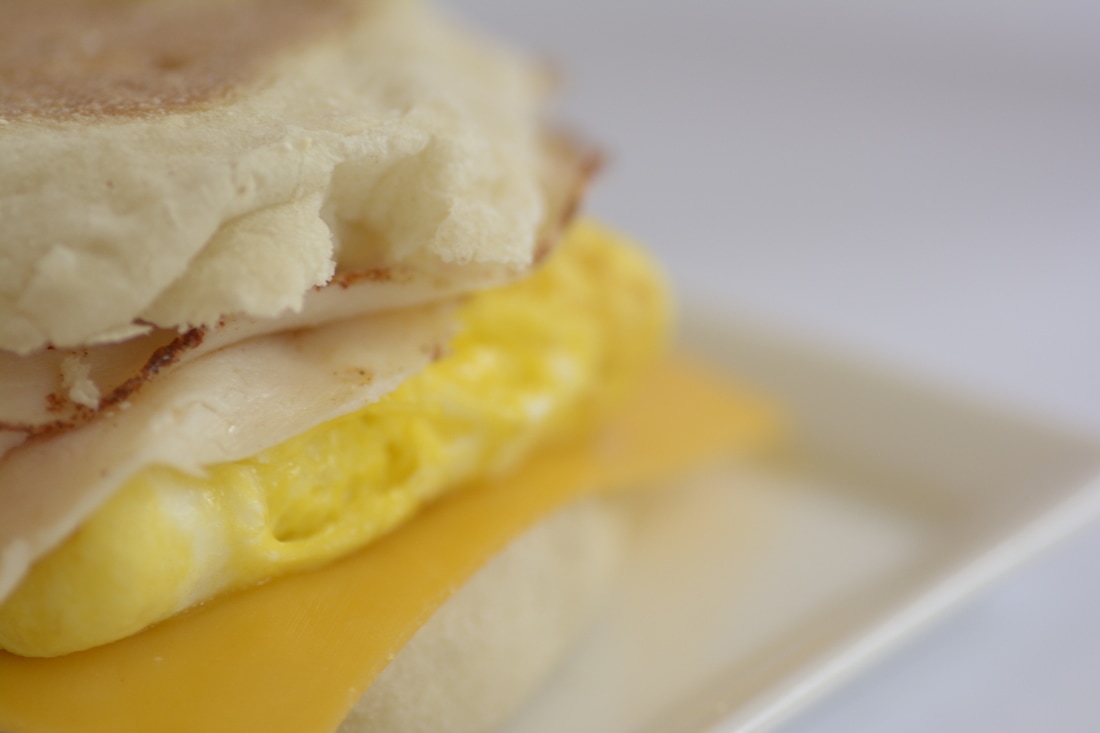
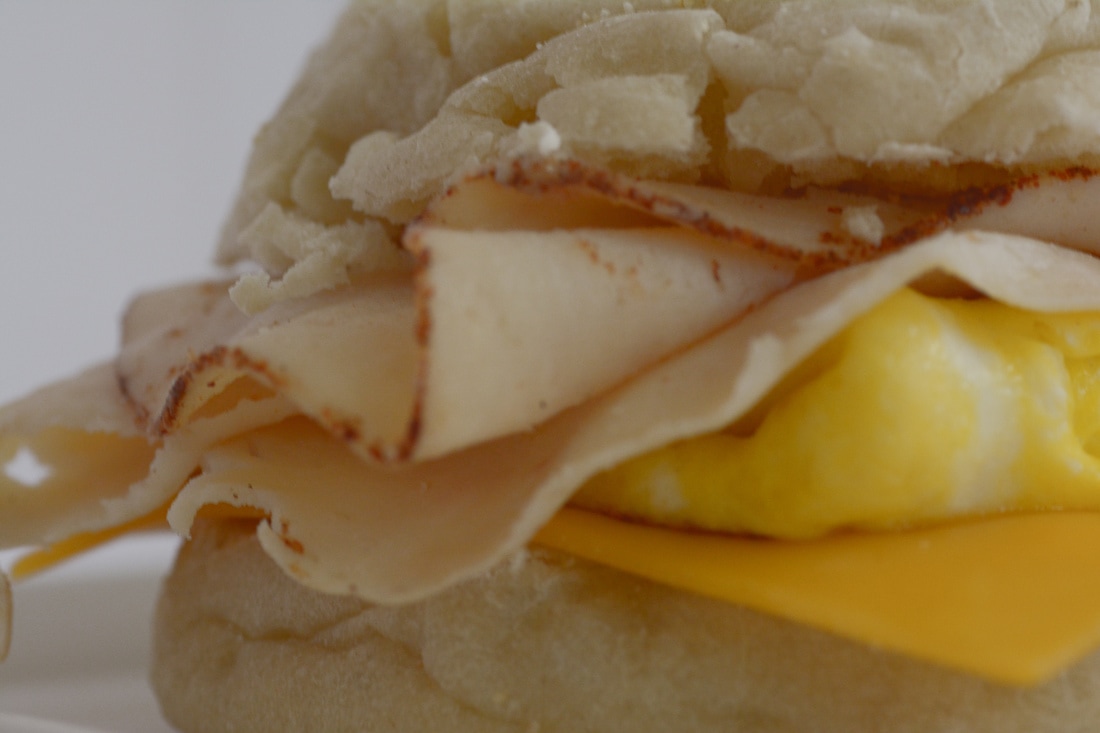
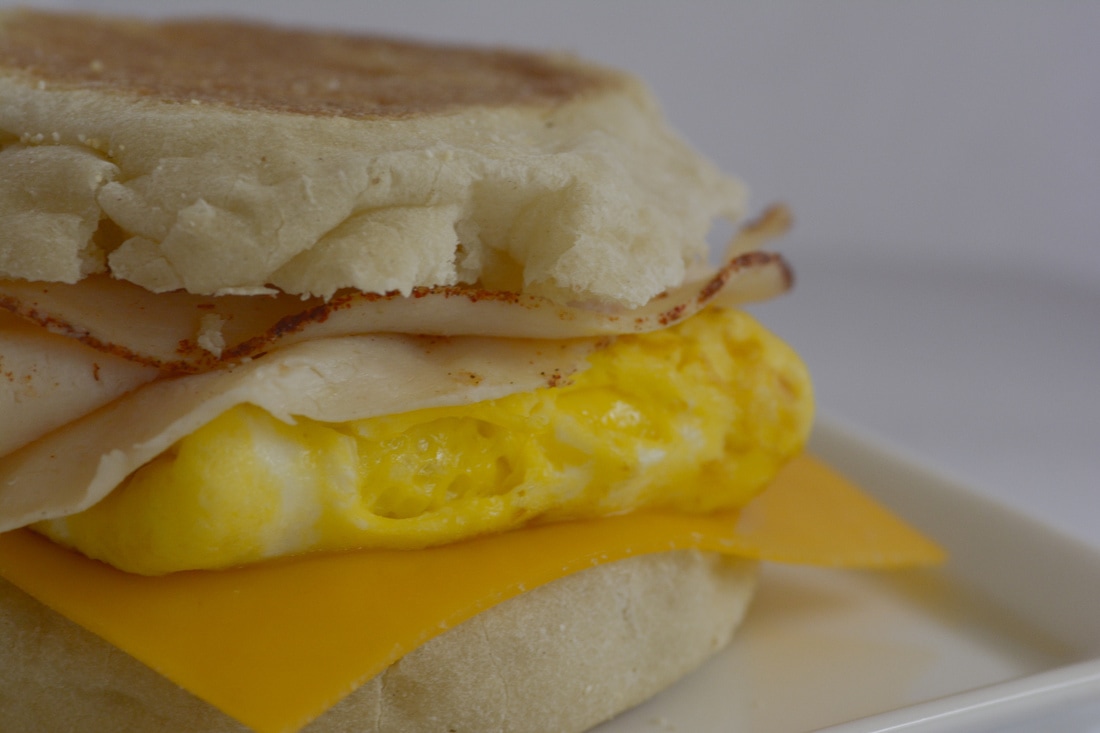
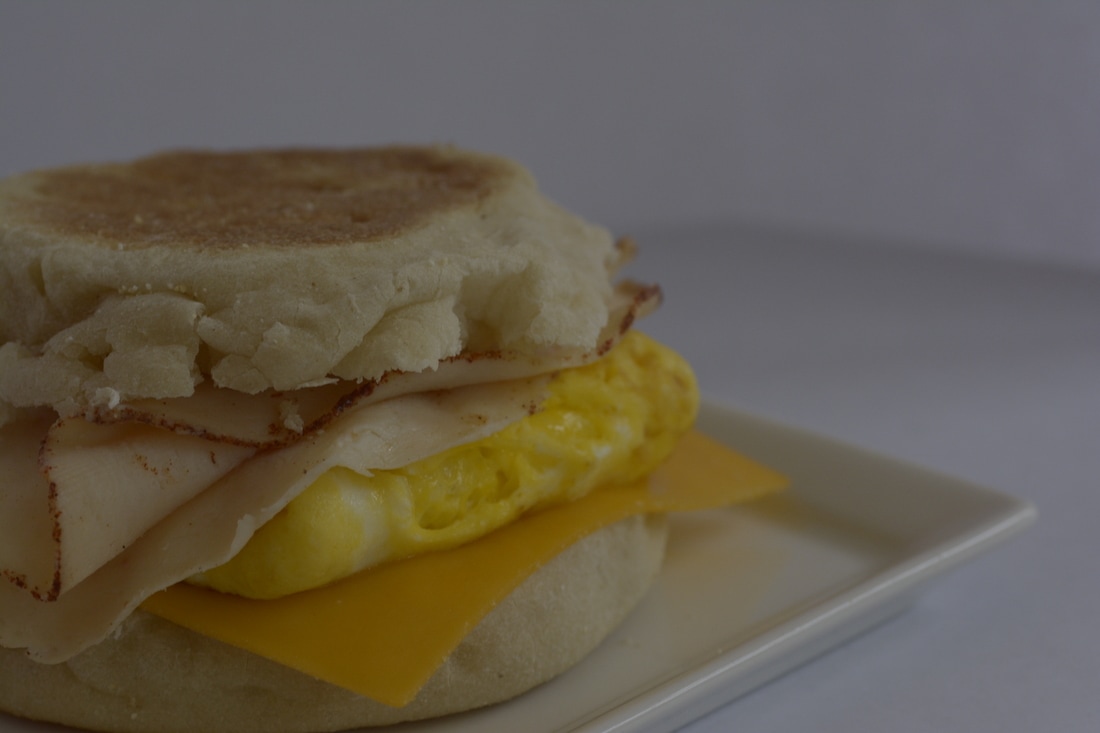
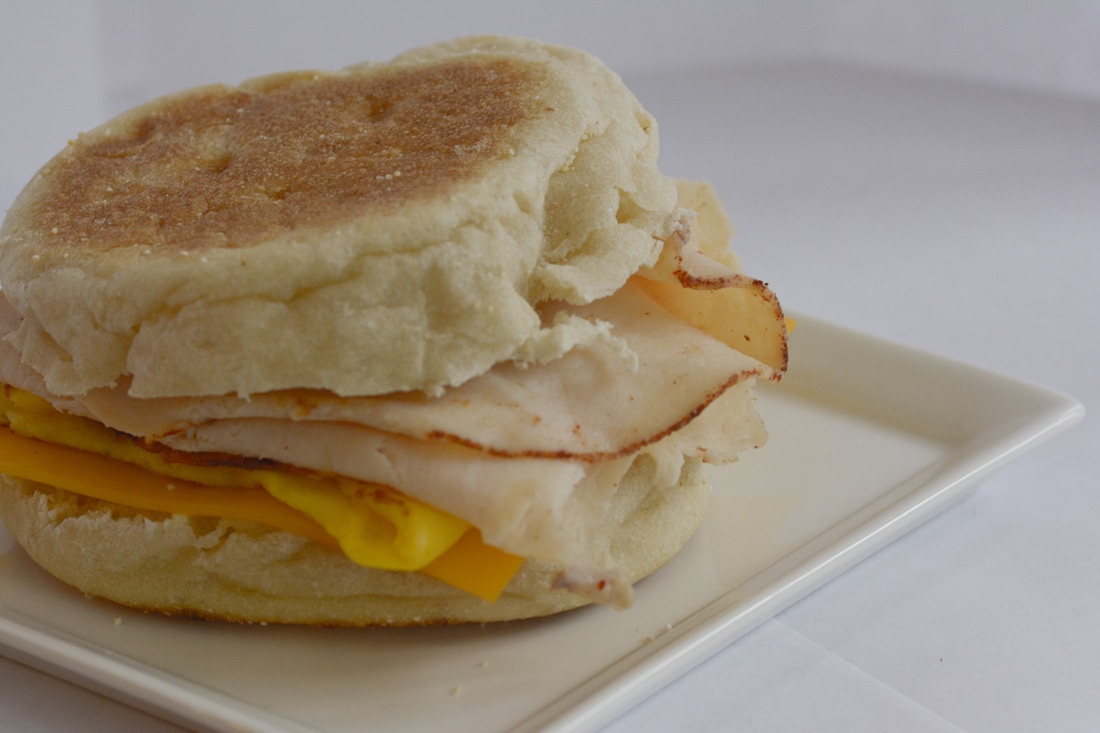
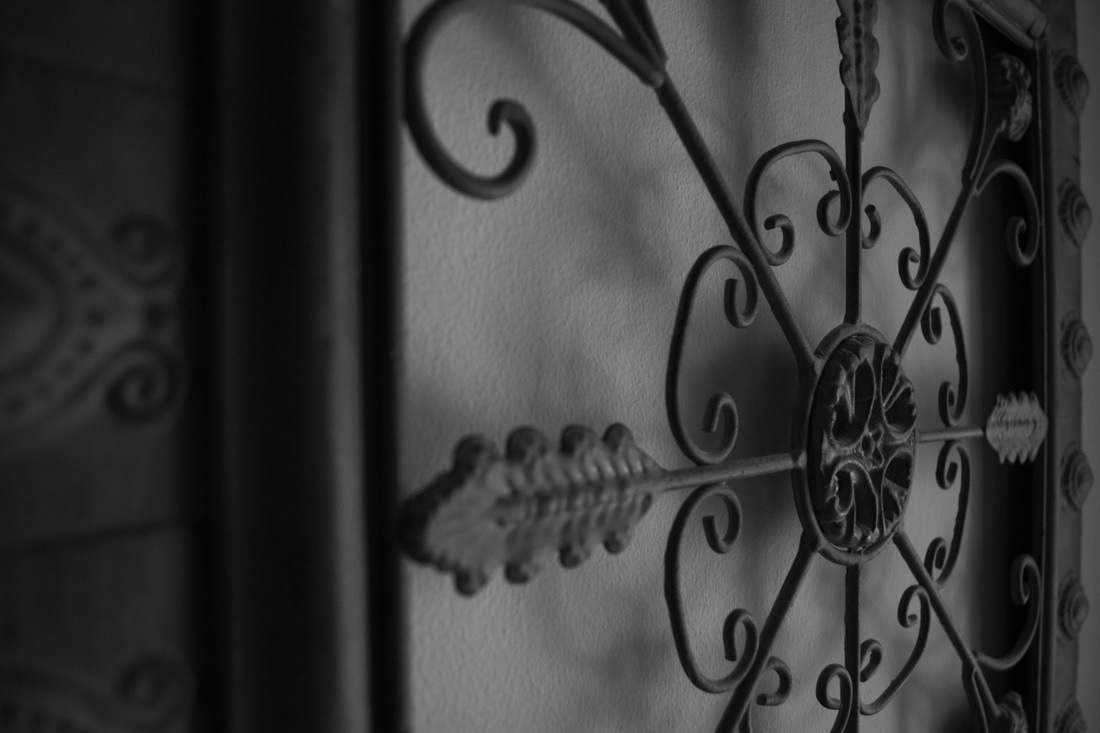
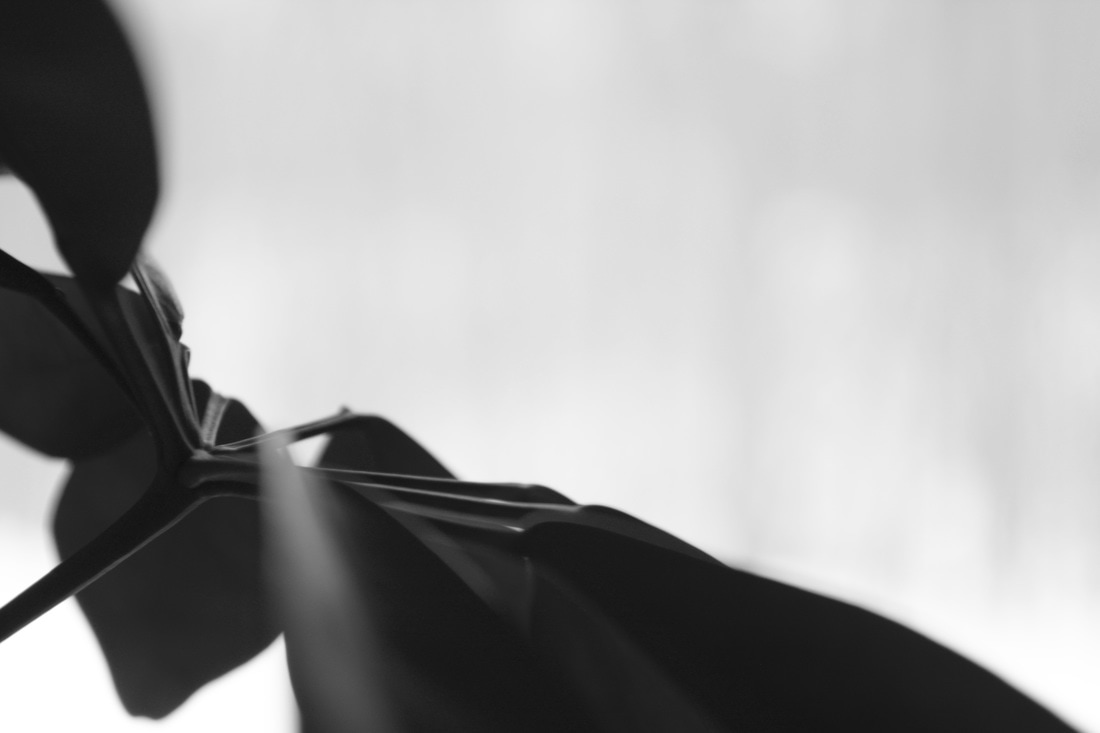
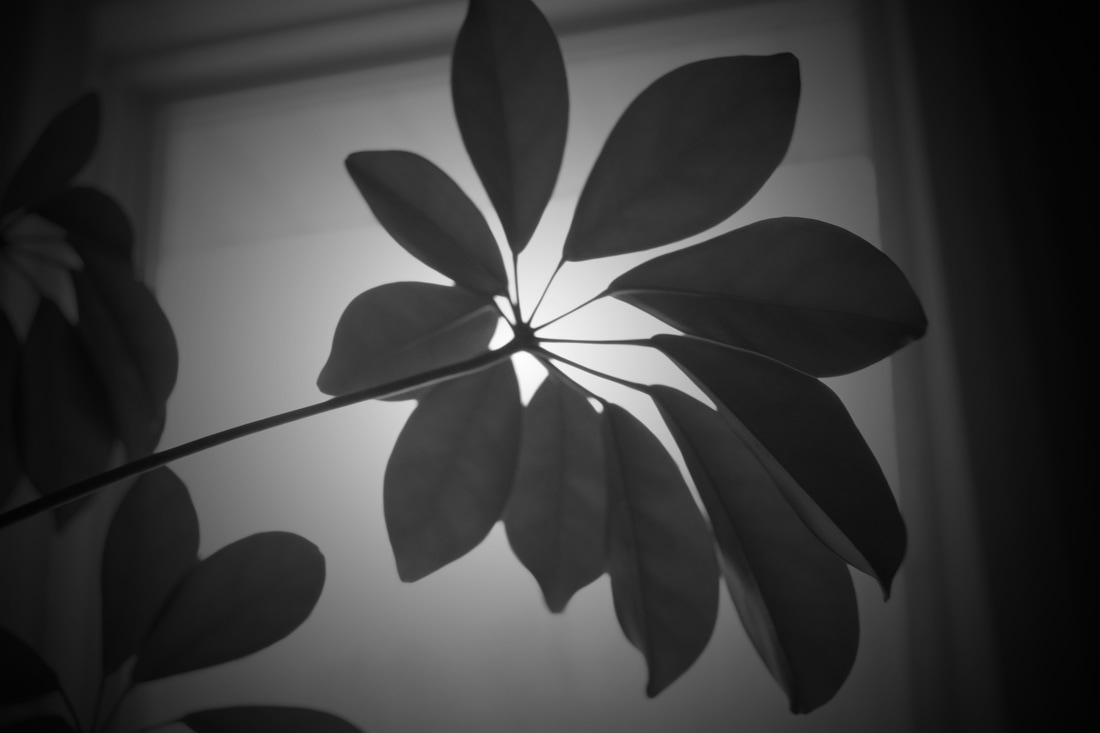
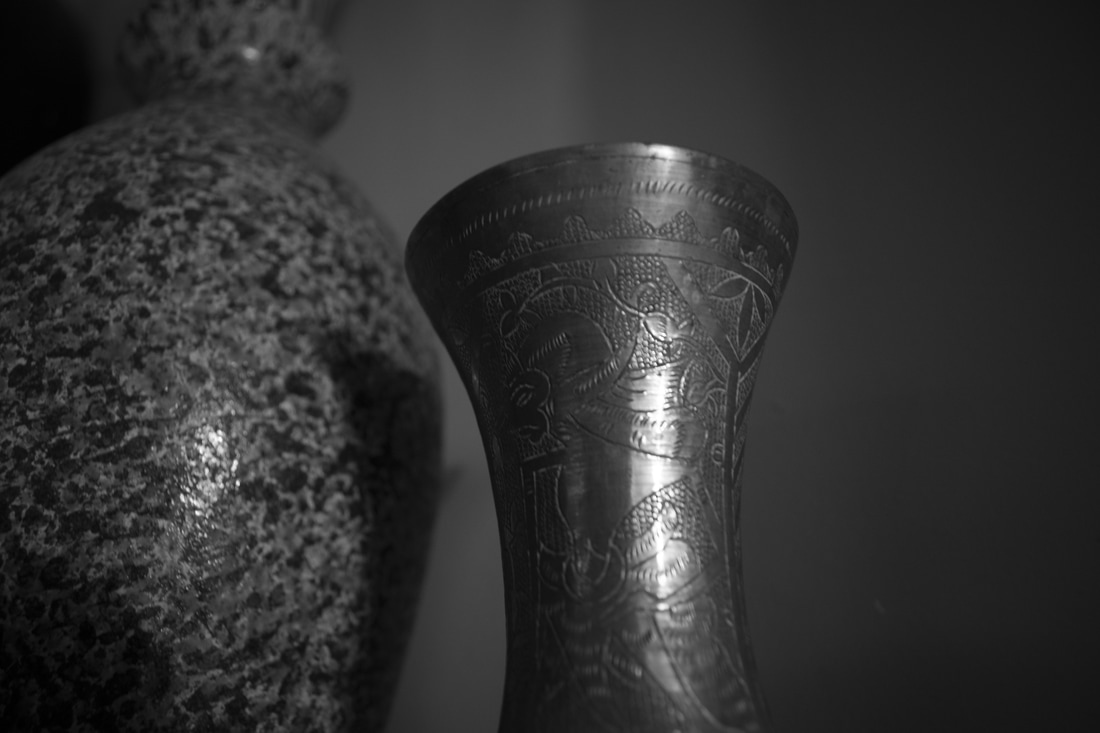
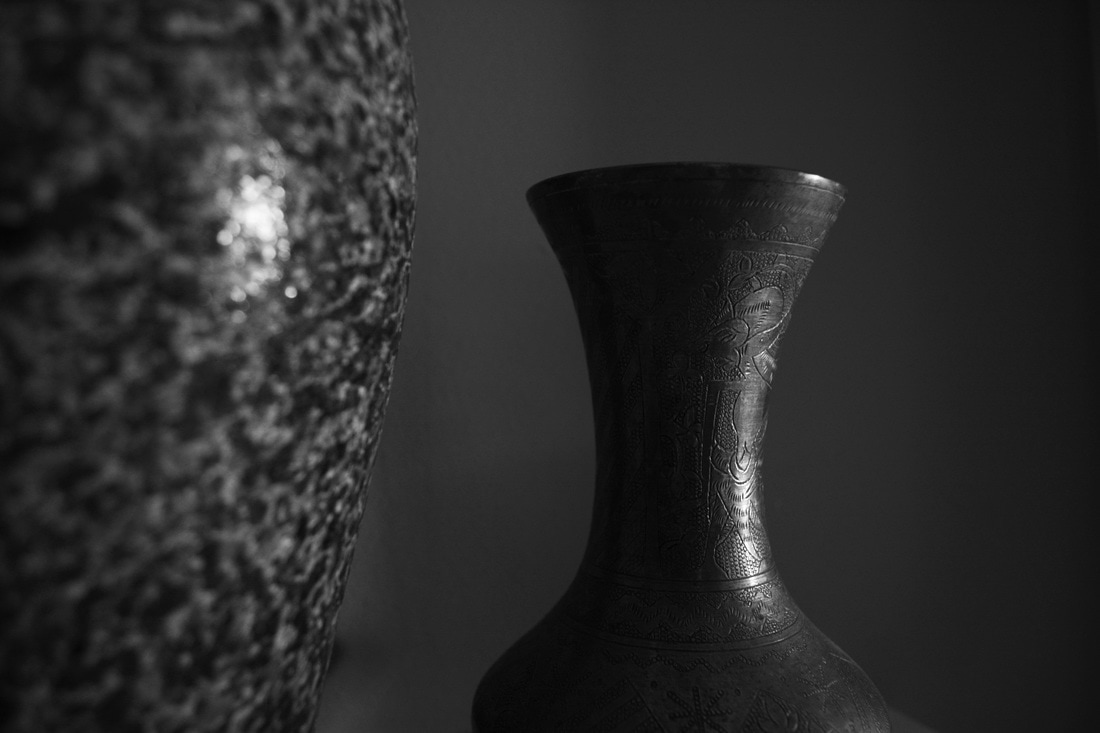
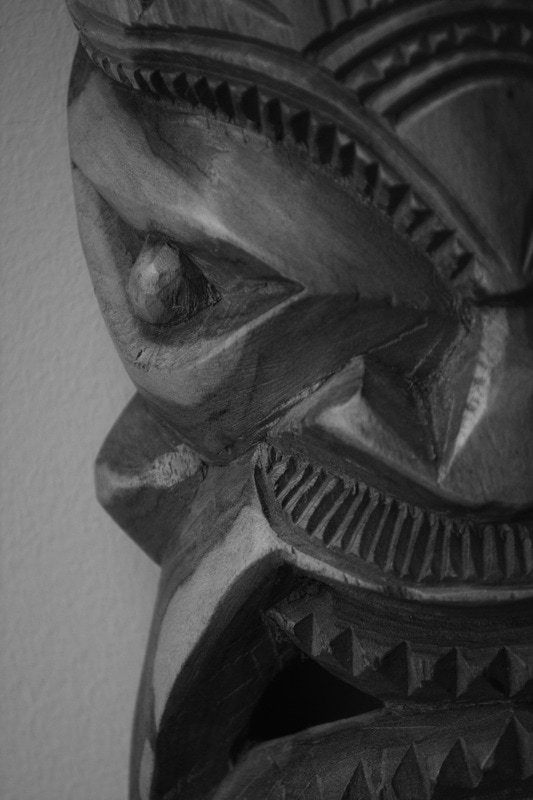
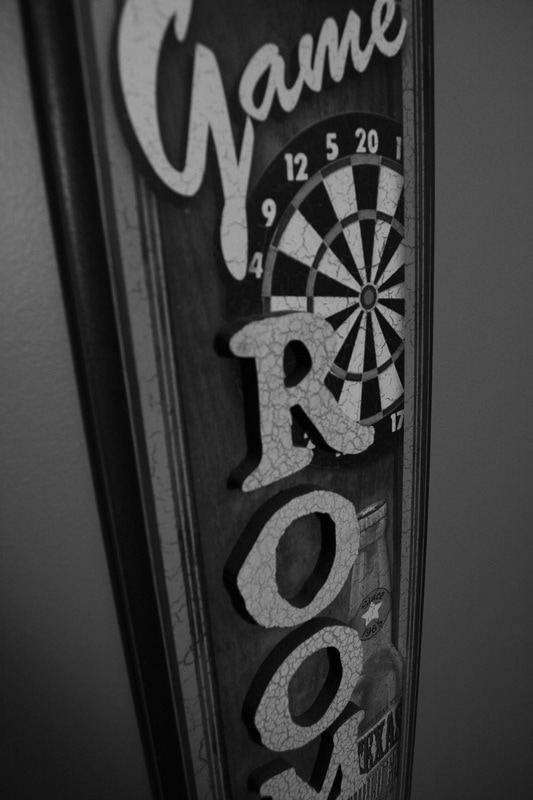
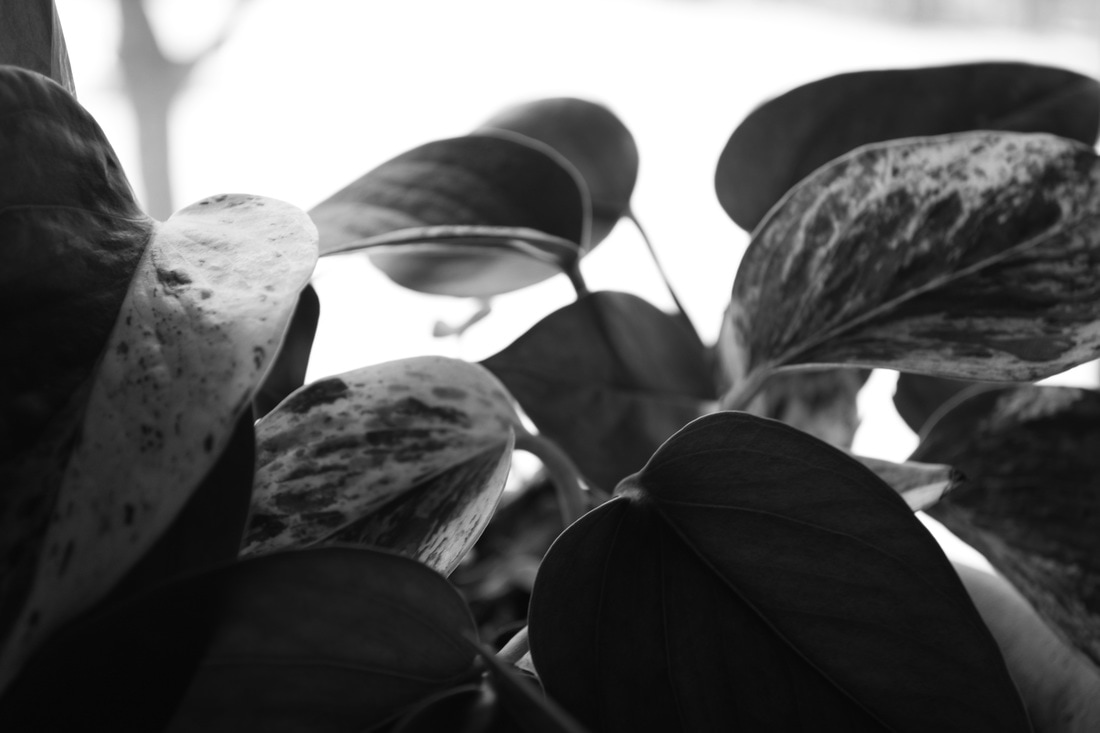
Completing this assignment was not as difficult as I thought it was. the hardest part was making sure that your camera didn't move at all. My camera moved a little bit but Photoshop auto-alligned it for me. 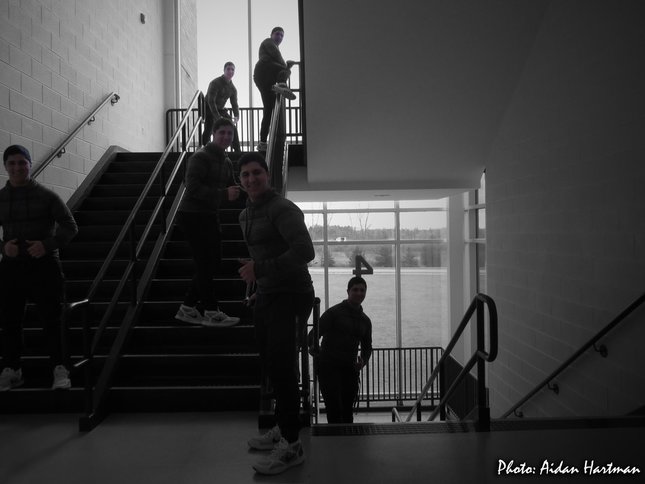 For this last photo assignment I chose macro. During the process of this assignment I was repeating the word "detail" over and over in my mind. I wanted to show an excessive amount of detail of whatever I shot. I found a fe objects in my house that were okay. I also wanted to have a very high aperture so I could have a very large depth of field to show a large amount of detail. I was not finding anything inside so I moved outside where objects were more "abstract". I went outside and took photos of some tree bark. Then I was some gravel. this perfect jagged and strange rock was propped just like in the photo and was destined to be taken a photo of. I think It turned out great. 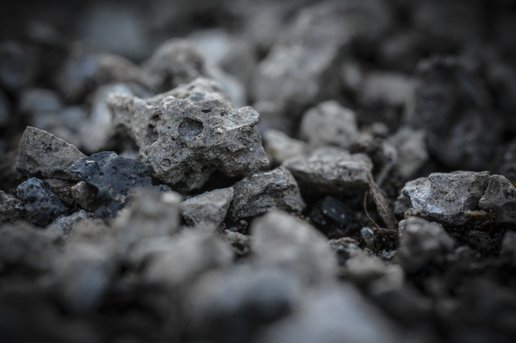 f/22.0, 1/60, ISO 3200, Increased: Contrast, Whites, Clarity. Added Vignette For his assignment, it was difficult to get a good window portrait because it was very hot and some windows were tinted with a blue hue. We finally found a spot where the lighting was good in the front of the school staircase. When editing the studio photo, the white balance was off slightly so I had to adjust it. For he frames of both pictures, I tried to go for a polaroid look with the excess film on the bottom. I like the expressions in the photos. 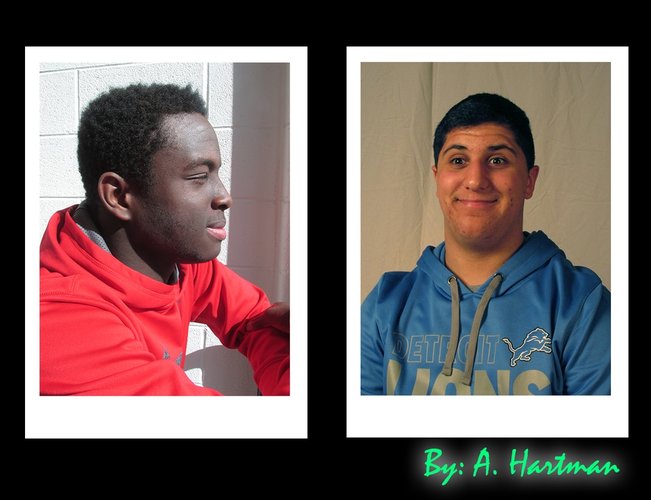 This week I decided to do nature. All week I had been admiring this sunset by my house. I finally got to it and got these mages. if I were to do this week again, I would have liked to get more than one day in and get tho the spot earlier to get more of the sun in the shot.  f/5.6, 1/25, ISO 100, Increased: Temperature, Shadows, Decreased: Exposure When starting this assignment it was difficult for me to find a tutorial I liked. I finally found one but I didn't have a picture of a person I would like to use. So I though of Star Wars and used Darth Vader. I didn't want to have a photo of him where he is looking straight into the camera. I wanted one where he was looking off of the camera to give more emotion. I chose a red nebula as the background of Vader because it reflects on his power of the dark side. For he font I decided to get a 100% free one on dafonts.com called "Star Jedi". I added an outer glow of red to go with the color scheme. LINK TO ORIGINAL VIDEO: https://www.youtube.com/watch?v=GPvWcJ_pUc8 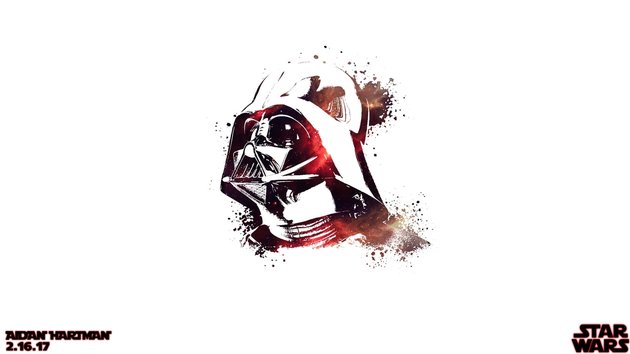 EXTRAS This assignment taught us how to "stitch" photos together to create a panorama. I learned a new feature in photoshop called "photomerge". The only difficult part of this was making sure nothing or no one was moving or had moved. I really enjoyed this project. 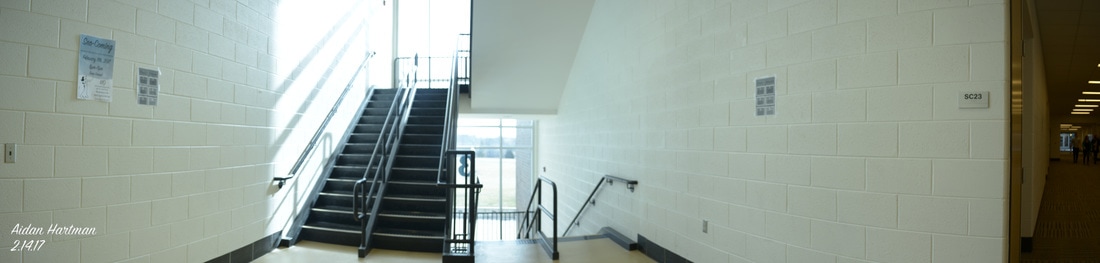 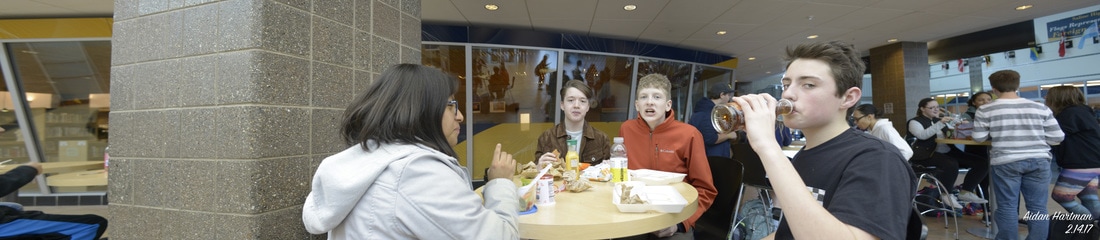  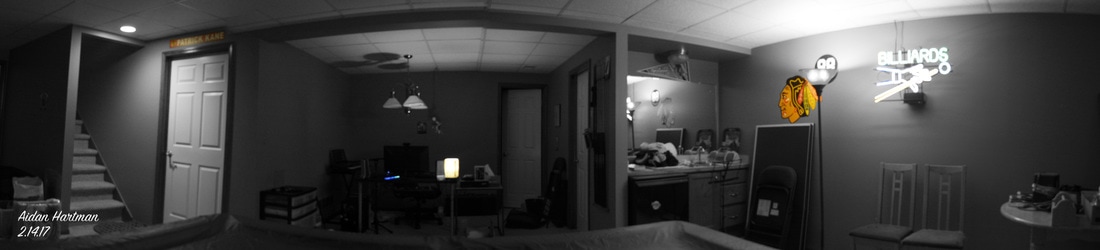 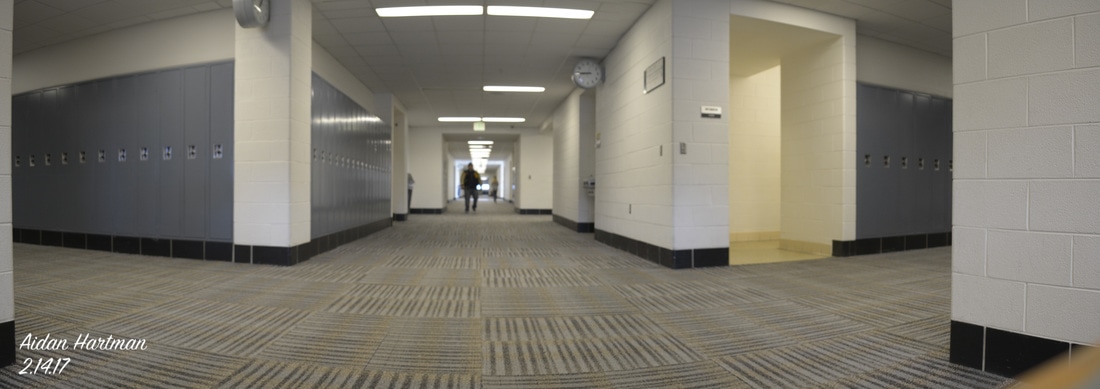 For this week I chose food as my topic. When I was making my food over the weekend, before I shot my photos, I set up a mini "studio" using the window light and plain white letter paper. I used white minimalistic plates to show as much paper in the background as possible. For the fruit I had coconut and some powdered sugar n the tom to make it look nicer. When I shot the spaghetti it was messy in the bowl so I wiped the inside walls of the bowl with a napkin to clean up the image and make it aesthetically pleasing. For the sandwich I used a small plate and shot close ups to make it fill the frame. Next time I would use the different lenses and get multiple different shots of the same thing. And next time use more paper to result in lest post-editing. 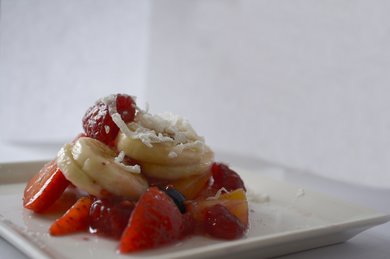 f/5.3, 1/20, ISO 100. More vibrance and exposure. Little more saturation and clarity. For this week I decided to do black and white. When I think of black and white picture I think of old, or vintage type of objects. So when looking for thinks o shot I kept that in mind. I kind of went in a circle around my house and started with the plants, things in the wall, little knickknacks on selves or vases. I also remembered that I had a studio light next to the vase in the picture. The vase was in a dark area and that light really helped. I wish I had brought it around and shot at a later time so I could get more dramatic lighting. 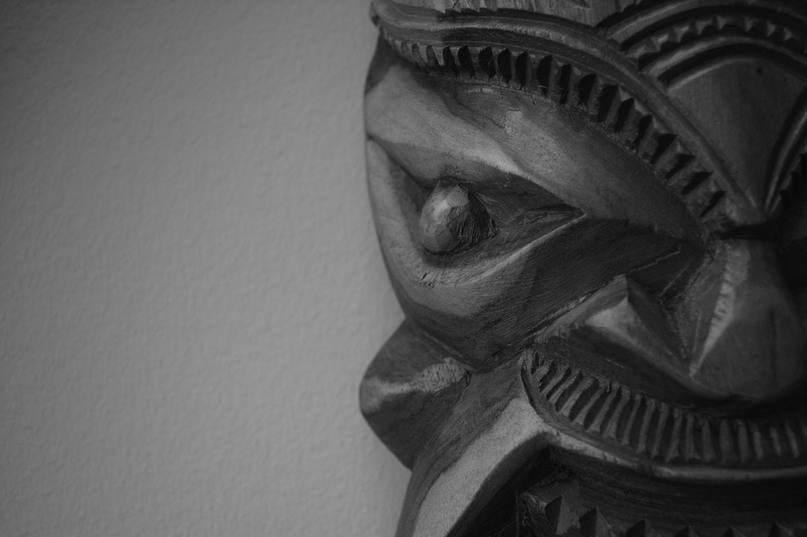 In this project we were assigned to shoot a few photos around the school. The objective was to take the selected picture and change the context. I chose to take a picture of a window and show a scene from Star Wars. I had to cut out the window and leave the walls. Then I added Endor, the AT-ST, Scout Trooper on the speeder, Darth Vader and the blaster shots. I had to make a tint to have a warmer color for the bricks to mach Endor. I added the shadows (which are subtle but make the picture just that more believable) on the three characters and on the brick wall to the right to match the sun direction from Endor. I had to slightly blur the blaster shots to make them look like they are moving, then I duplicated the layers to make it brighter but still have the soft edges. I then duplicated the trooper and used the "Smudge tool" to slightly drag the left side of him to make him look like he is caught in motion. I added a little touch with Vaders' lightsaber. I painted a red ellipse by the tip of the light with a very low opacity and added a outer blur, then warped the layer to match the surrounding of the saber. 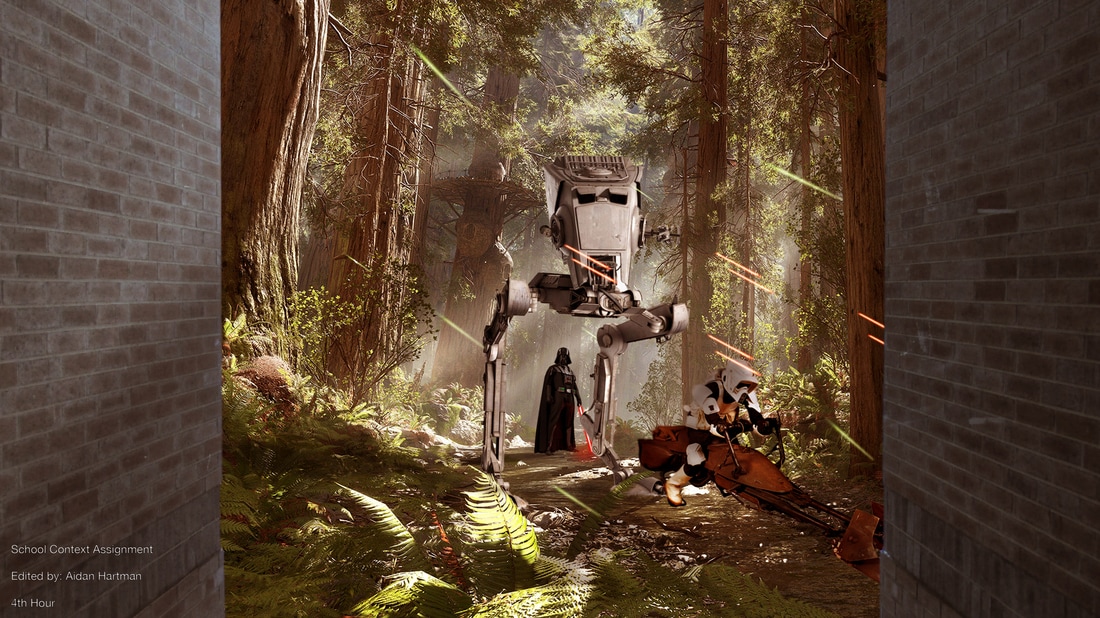 Edited 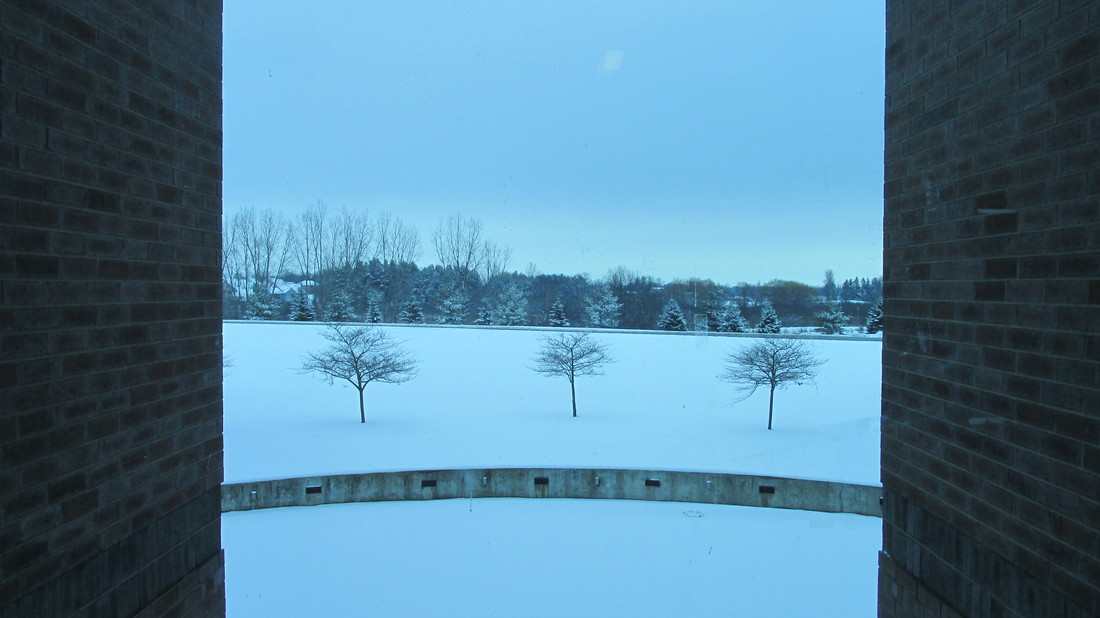 Original |